
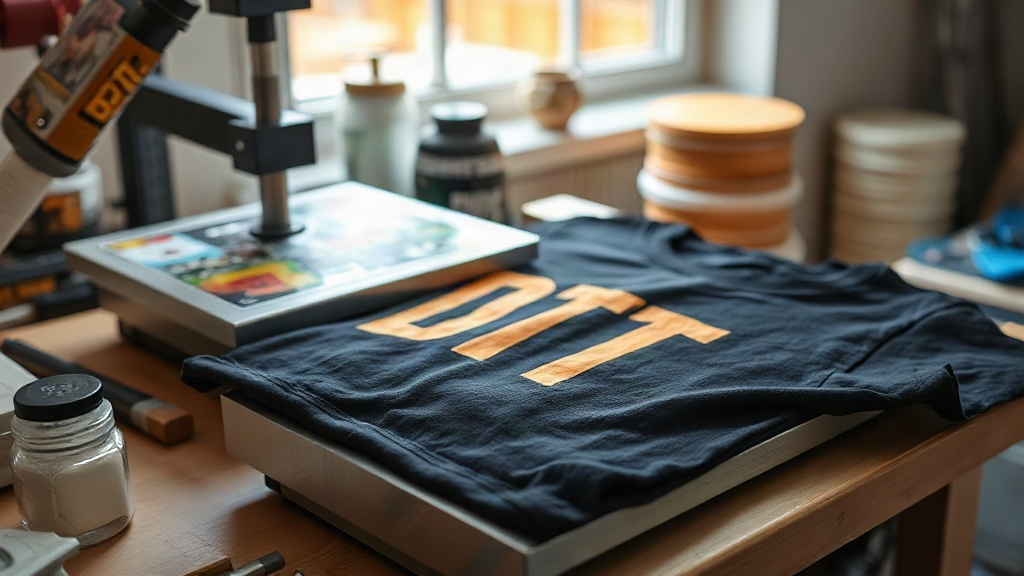
If you've been exploring custom apparel printing, you've likely encountered DTF Transfers. This technology is quickly becoming a favorite among small business owners, crafters, and hobbyists for its versatility and ease of use. Unlike traditional methods that limit you to certain fabrics, DTF (Direct to Film) opens up a world of possibilities. In this guide, I'll walk you through everything you need to know to get started, from the basics of the process to expert tips that ensure professional-looking results every time.
What Are DTF Transfers?
DTF Transfers are a type of heat-applied decoration where your design is printed onto a special film, coated with a adhesive powder, and then transferred to fabric using a heat press. The process involves printing with specialized inks onto a PET film, applying a thermoplastic powder while the ink is still wet, and then curing the powder. The result is a flexible, stretchable transfer that can be applied to a wide range of materials, including cotton, polyester, blends, and even some non-fabric items like leather or canvas.
What sets DTF apart from other methods like DTG (Direct to Garment) or vinyl is its ability to produce full-color, photographic-quality images without the need for pretreatment or special fabrics. It's also more cost-effective for small batches, making it ideal for custom orders.
How DTF Transfers Work: Step by Step
Understanding the DTF process helps you troubleshoot issues and achieve consistent results. Here's a breakdown of each stage:
1. Design Preparation
Start with a high-resolution image (300 DPI is recommended). DTF printing uses CMYK inks plus white, so your design should be in RGB or CMYK color mode. If your design has transparent areas, they will be printed white unless you specify otherwise. Most DTF printers come with RIP software that handles color management and white ink layering automatically.
2. Printing
The design is printed onto a special DTF film. The printer lays down a layer of white ink first (or sometimes last, depending on the printer), followed by the color inks. This white layer acts as a base, allowing the colors to pop on dark fabrics. The film is then dusted with a hot-melt adhesive powder while the ink is still wet.
3. Curing
The powder-covered film goes into a curing oven or under a heat source to melt the powder. This step is crucial: under-curing leads to poor adhesion, while over-curing can cause the transfer to become brittle. Most powders cure between 160-180°C (320-356°F) for 2-5 minutes. A infrared thermometer or curing oven with precise temperature control is a worthwhile investment.
4. Pressing
Once cured, the transfer is ready to apply. You'll need a heat press (not an iron, which doesn't provide even pressure and temperature). Set your press to 150-160°C (300-320°F) with medium pressure. Pre-press the garment for a few seconds to remove moisture, then place the transfer on top and press for 10-15 seconds. After pressing, peel the film while it's still warm (warm peel) or after it cools (cold peel), depending on the film type. Finally, cover with a Teflon sheet or parchment paper and press again for 5-10 seconds to ensure the best adhesion.
Why Choose DTF Transfers?
There are several compelling reasons why DTF has gained such a strong following:
- Fabric versatility: Works on cotton, polyester, blends, spandex, and even treated leather. No need for multiple transfer types.
- No weeding or cutting: Unlike vinyl, there's no tedious weeding. Just print, powder, cure, and press.
- Full-color and photographic details: Achieve gradients, fine lines, and complex images with ease.
- Durability: When applied correctly, DTF prints withstand dozens of washes without fading or cracking.
- Cost-effective for small runs: No minimum order quantities and low setup costs.
Common Challenges and How to Overcome Them
Even though DTF is user-friendly, beginners often face a few hurdles. Here's how to tackle them:
Poor Adhesion
If the transfer peels off after washing, the culprit is usually insufficient pressure, incorrect temperature, or under-curing. Double-check your heat press settings and ensure even pressure across the platen. Also, make sure the powder is fully melted; it should look glossy, not gritty.
Color Fading or Dullness
On dark garments, colors may appear muted if the white ink layer is too thin. Increase the white ink density in your RIP settings or apply a second white layer. Also, ensure you're using quality DTF inks and film.
Cracking or Peeling
This often happens when the transfer is stretched too much or the garment is washed in hot water. Advise your customers to wash inside out in cold water and avoid bleach. Also, make sure the transfer is properly pressed into the fabric fibers; a second press after peeling helps.
Tips for Perfect DTF Transfers Every Time
After countless trials (and a few errors), I've picked up some best practices that make a big difference:
- Pre-press your garment: This removes wrinkles and moisture, ensuring a smooth surface.
- Use a heat press with accurate temperature control: Irons don't cut it. Invest in a good press.
- Test your settings: Every fabric and transfer film behaves differently. Keep a log of what works.
- Store transfers properly: Keep them in a cool, dry place away from direct sunlight to prevent the powder from clumping.
- Peel at the right temperature: Follow the film manufacturer's recommendation. Some are warm peel, some cold.
- Post-press for durability: A quick second press seals the edges and improves washability.
DTF vs. Other Printing Methods
How does DTF stack up against DTG, screen printing, and vinyl? Here's a quick comparison:
- DTG: Best for 100% cotton, requires pretreatment, can be slow and costly for small batches.
- Screen Printing: Cost-effective for large orders but expensive for small runs and limited colors.
- Vinyl: Great for simple designs but not for complex images; requires weeding.
- DTF: No fabric restrictions, no minimums, full-color, and durable. The clear winner for versatility.
Frequently Asked Questions
Can I use DTF transfers on 100% polyester?
Yes, DTF works well on polyester. However, because polyester is heat-sensitive, lower the press temperature to around 140-150°C (280-300°F) and use a shorter press time to avoid scorching or dye migration. Using a low-temperature DTF film can also help.
How long do DTF transfers last?
With proper application and care, DTF transfers can last 50+ washes. To maximize longevity, wash garments inside out in cold water, tumble dry low, and avoid ironing directly on the print.
Do I need a special printer for DTF?
You can convert an existing inkjet printer (like an Epson) to DTF using DTF inks and film, but dedicated DTF printers are recommended for consistent results. They come with the necessary RIP software and white ink circulation systems.
What is the best way to store DTF transfers?
Store them flat in a cool, dry place, away from direct sunlight and moisture. Excessive heat can cause the powder to melt prematurely, ruining the transfer. A sealed bag or container works well.
Can I layer DTF transfers?
Yes, you can layer DTF transfers, but it's tricky. Press the first transfer, peel, then press the second on top. Use a lower pressure and shorter time for the second press to avoid distorting the first layer. Alternatively, design your artwork with layers already combined.
DTF transfers have revolutionized custom apparel printing by offering unmatched versatility and quality. Whether you're a seasoned pro or just starting, mastering DTF opens up endless creative opportunities. Remember, practice makes perfect, so don't be afraid to experiment with different fabrics and settings. With these tips, you'll be producing vibrant, long-lasting prints in no time.