
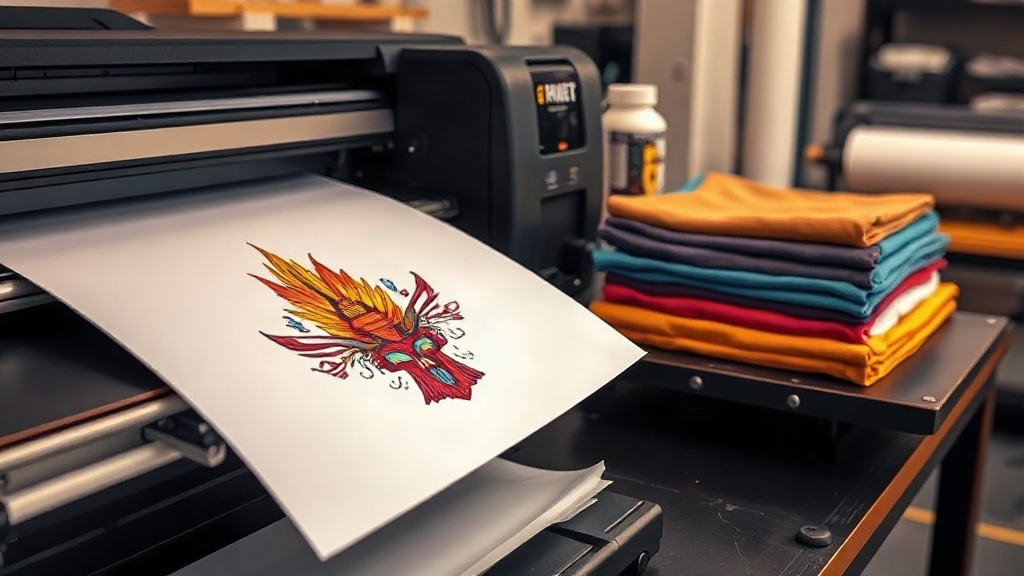
When I first started experimenting with DTF printing, I was drawn to its promise of vibrant colors and versatility across different fabrics. But like many beginners, I quickly learned that success lies in the details: the right film, powder, ink, and heat press settings. In this guide, I'll share what I've learned from countless trials, so you can skip the frustration and produce professional-looking transfers from day one.
What Is DTF Printing and Why It Matters
DTF stands for Direct to Film. It's a printing method where your design is printed onto a special film, coated with adhesive powder, and then heat-pressed onto the fabric. Unlike DTG or screen printing, DTF works on a wide range of materials, including cotton, polyester, blends, and even treated leather. This flexibility makes it a favorite for small businesses and hobbyists who want to offer custom apparel without investing in multiple printing setups.
The process involves four main steps: printing the design onto the film, applying the powder, curing the powder, and pressing the transfer onto the garment. Each step has its own nuances, and mastering them is key to consistent results.
Choosing the Right DTF Film and Powder
Not all films are created equal. I've tested several brands, and I've found that double-sided matte film works best for most applications. It provides a good grip for the ink and releases cleanly after pressing. Glossy film can be tricky because it may cause the ink to smear during printing. If you're just starting, look for film that's specifically designed for DTF printing, as it will have the right coating to hold the ink and powder.
As for the powder, you'll want a fine, TPU-based adhesive powder. The particle size matters: too coarse and you'll get a rough texture; too fine and it might not adhere properly. I recommend starting with a 80-200 micron powder, which is a good middle ground. Also, make sure the powder is dry. Moisture can cause clumping, leading to uneven coverage.
Ink Selection and Printer Setup
You'll need DTF inks, which are typically pigment-based and formulated to work with the film and powder. Using regular inkjet ink won't work because it doesn't have the necessary adhesion properties. When setting up your printer, use a RIP software that's compatible with DTF printing. It will help you manage color profiles and ink limits, which is crucial for vibrant prints.
One common mistake is over-inking. If you lay down too much ink, the powder won't stick properly, and the transfer may crack after washing. Start with the recommended ink limits from your film manufacturer and adjust from there.
Step-by-Step DTF Printing Process
Here's a breakdown of the process based on my experience:
- Design Preparation: Create your artwork in a vector or high-resolution raster format. Mirror the image horizontally before printing, as DTF transfers are pressed face-down.
- Printing: Load the film into your printer with the coated side facing the printhead. Print at a quality setting that balances speed and ink laydown.
- Powder Application: While the ink is still wet, generously sprinkle the powder over the print. Then shake off the excess. You can use a powder shaker for even distribution.
- Curing: Place the film in a curing oven or under a heat gun. The powder should melt and become glossy. Typically, this takes 2-3 minutes at 160°C (320°F). Don't overcook, or the film may warp.
- Pressing: Preheat your heat press to 160°C (320°F). Place the transfer on the garment with the powder side down. Press for 15-20 seconds with medium pressure. Then peel the film off warm or cold, depending on the film type.
Heat Press Settings and Techniques
Getting the heat press settings right is crucial. I keep a log of settings for different fabrics because what works for cotton may not work for polyester. For cotton, I use 160°C for 15 seconds. For polyester, I lower the temperature to 150°C to prevent scorching and press for 20 seconds. Always use a Teflon sheet or parchment paper over the transfer to protect the garment and the press.
Pressure is equally important. Too little pressure and the transfer won't adhere; too much and the design may spread or the fabric may get compressed. Aim for medium pressure, where you can see the texture of the fabric through the transfer but it doesn't feel crushed.
Common DTF Problems and How to Fix Them
Even with experience, issues can arise. Here are some common problems and their solutions:
- Transfer peels off after washing: This usually means insufficient powder or under-curing. Increase powder coverage and ensure the powder is fully melted.
- Cracking: Over-inking or too much pressure during pressing can cause cracks. Reduce ink limits and pressure.
- Dull colors: Might be due to incorrect color profiles or not enough ink. Calibrate your printer and use a proper ICC profile.
- Film jams in printer: Check that the film is loaded correctly and that the printer's rollers are clean. Also, ensure the film is not too thick for your printer.
DTF vs Other Printing Methods
How does DTF compare to DTG, screen printing, and vinyl? DTF shines in its ability to print full-color designs on a variety of fabrics without the need for pre-treatment (unlike DTG) or multiple screens (like screen printing). It's also more durable than vinyl for complex designs. However, DTF transfers have a slight texture, which some may not prefer for certain applications. But for small batches and intricate designs, it's hard to beat.
Frequently Asked Questions
Can I use DTF on 100% polyester?
Yes, DTF works great on polyester. Just lower the pressing temperature to around 150°C and use a shorter press time to avoid dye migration. Also, pre-press the garment to remove moisture.
How long do DTF transfers last?
With proper application and care, DTF transfers can last as long as the garment itself. Wash inside out in cold water and avoid ironing directly on the print.
Do I need a special printer for DTF?
You can convert a standard inkjet printer to DTF by using DTF inks and film. However, dedicated DTF printers are available and offer better reliability and color consistency.
What's the best way to store DTF transfers?
Store them in a cool, dry place, away from direct sunlight. Place them flat or roll them loosely to prevent creasing. Use them within a few months for best results.
Can I layer DTF transfers?
Yes, you can layer DTF transfers for multi-color designs. Press the first layer for a few seconds, then apply the next layer and press again. This technique allows for complex designs without printing them all at once.