
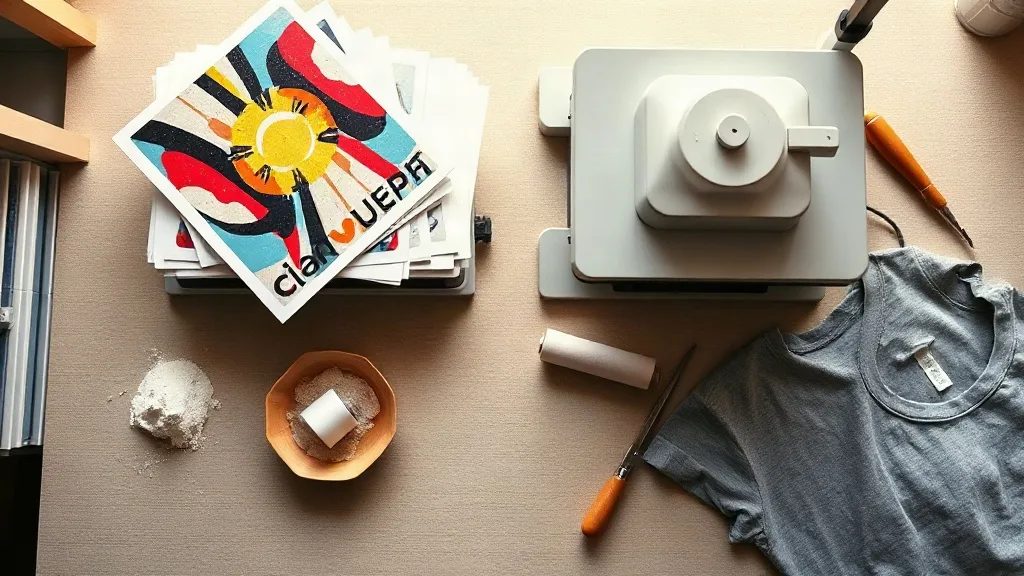
Most people who try dtf transfers for the first time judge them by the first shirt they press. If it cracks after two washes, the technique gets blamed. If it stays soft and bright for months, the same technique gets praised. The truth sits somewhere in the middle, and it usually comes down to small decisions made before the heat press is even switched on: how the film was stored, how the garment was prepared, and whether the transfer matched the fabric in the first place.
This guide walks through what happens inside a DTF sheet, the pressing habits that separate clean results from messy ones, and how to judge quality before you commit to a bulk order. Whether you run a small print shop or press shirts at the kitchen table, the same principles apply.
What Actually Happens Inside a DTF Transfer
A dtf transfer is a printed film carrying a mirror-image design in pigment ink, dusted with a thermoplastic adhesive powder and cured until that powder melts into a flexible layer. When heat and pressure hit it, the adhesive softens, bonds to the fibers, and the carrier film peels away leaving the ink behind. There is no separate vinyl layer and no weeding step, which is why detailed gradients, tiny text, and photographic artwork survive the process far better than they do on cut vinyl.
The powder is the quiet hero of the whole system. Too little and the ink sits on the surface, ready to flake. Too much and you get a stiff, rubbery hand feel that customers notice immediately. Good suppliers control that dusting closely, and you can usually feel the difference within seconds of touching a sheet.
Why the Ink and Powder Balance Matters
Pigment inks used in DTF are formulated to stay flexible after curing. When a print is under-cured, the adhesive never fully develops and the design peels at the corners after a few washes. When it is over-cured, the film turns brittle and cracks along fold lines. Reputable producers test cure temperature and dwell time on every batch, which is one reason two sheets that look identical can behave very differently under the press.
Pressing Settings That Hold Up in Real Use
Every press runs a little differently, so treat any published setting as a starting point rather than gospel. That said, the ranges below work reliably across most cotton and cotton-blend garments and give you a sane place to begin testing.
- Temperature: 150 to 160 degrees Celsius for most fabrics, dropped slightly for heat-sensitive blends.
- Pressure: medium to firm, enough that you can see the fabric texture pressing through the film.
- Pre-press: 5 to 10 seconds to drive out moisture and flatten seams.
- Press time: 10 to 15 seconds for the transfer itself, then a short second press after peeling.
- Peel: warm or cold peel depending on the film, always in one smooth motion at a shallow angle.
The step people skip most often is the pre-press. Cotton holds ambient moisture, and that moisture turns to steam under the platen. Steam trapped between the film and the fabric creates cloudy patches, weak adhesion, and that faint bubbling you sometimes see on cheap-looking prints. Ten seconds of pre-pressing costs almost nothing and fixes most of it.
Cold Peel Versus Warm Peel
Cold peel films need the transfer to cool completely before you lift the carrier, usually 30 to 60 seconds. Pull early and the adhesive stretches, leaving a dull, stretched edge. Warm peel films want to come off while the sheet is still hot, and waiting too long makes them grab. If you are unsure which type you have, press a test swatch and try peeling at both stages. The correct timing will feel obvious once you see it.
Matching Transfers to the Right Fabric
DTF is remarkably forgiving, but it is not universal. Cotton, polyester, and blends all accept it well, and the same sheet can go on a canvas tote as easily as a jersey tee. Problems tend to appear with coatings and finishes rather than fiber content. Water-repellent jackets, nylon shells, and garments with silicone or wax treatments resist adhesion because the adhesive has nothing to grip.
Stretch is the other factor worth thinking about. On high-stretch performancewear, the print will move with the garment only if the adhesive layer is flexible and the design does not sit right across a seam. Placing artwork slightly away from seams and hems extends the life of the print considerably, and it is a habit worth building into your layout process rather than fixing later.
Storage Habits That Protect Your Investment
Film is sensitive to heat, humidity, and sunlight. Sheets left in a hot car or near a south-facing window can start to cure prematurely, and once that happens the powder will not bond properly no matter how you press it. Store transfers flat or loosely rolled in a cool, dry place, ideally in a sealed bag with a desiccant pack if your workspace runs humid.
Keep an eye on age as well. Most films perform best within six to twelve months of production. If you are working through older stock, run a test press before committing a full order to a customer job. A two-minute test saves a lot of awkward conversations.
How to Judge Quality Before You Buy
Photos online tell you very little. The details that predict performance are tactile and structural, and a sample pack answers more questions than any product page.
- Check the powder coverage: it should be even, with no bald patches and no thick clumps.
- Look at fine detail: small text and thin lines should stay crisp, not bleed into the background.
- Feel the cured print: it should be soft and slightly grainy, not slick or plasticky.
- Wash a test piece three or four times before you judge durability.
- Ask about batch consistency if you plan to reorder the same design regularly.
Anyone searching for dtf transfers near me usually wants two things: fast turnaround and someone who will answer questions about settings. A local supplier who can hand you a sample and talk through your press is worth more than a slightly cheaper option that arrives with no support at all.
Common Mistakes and How to Avoid Them
Most failed presses trace back to a short list of fixable errors. Pressing through a seam or zipper creates uneven pressure, so the print bonds in some spots and lifts in others. Peeling too fast leaves stretch marks along the edges. Reusing carrier film never works, since the adhesive has already transferred. And pressing a second time without a protective sheet can leave a glossy sheen on matte finishes.
Temperature drift is another quiet culprit. Presses that have not been calibrated can run 10 degrees off the displayed number, which is enough to push a borderline setting into failure. An infrared thermometer pointed at the platen takes seconds and tells you whether your readings can be trusted.
Frequently Asked Questions
How long do DTF transfers last on a shirt?
With correct pressing and normal washing, most quality transfers hold up for 50 or more wash cycles. Washing inside out in cold water and tumble drying on low extends that considerably. Avoid ironing directly over the print.
Can I use DTF transfers on dark and light fabrics?
Yes. Unlike some transfer methods, DTF includes a white ink base, so the same design works on black, navy, white, and everything in between without any changes to the artwork.
Do I need a special printer to make my own DTF transfers?
Making them at home requires a DTF printer, pigment inks, adhesive powder, and a curing setup. For most small businesses, buying ready-made sheets is far more practical until volume justifies the equipment cost.
What is the difference between DTF and DTG?
DTG prints directly onto the garment and works best on cotton. DTF prints onto film first and is then pressed onto the fabric, which makes it more versatile across fabric types and better suited to small runs and detailed artwork.
Why is my transfer peeling after washing?
Peeling usually points to insufficient pressure, too low a temperature, an under-cured film, or a fabric with a water-repellent coating. Re-check your press settings and confirm the garment is pressable before blaming the transfer itself.