Are you looking to add a personal touch to your wardrobe? Learning how to apply nurse transfers to your T-shirts is a fantastic way to express your passion for nursing while creating unique and stylish apparel. Nurse transfers are not only a fun craft project but also a great way to showcase your profession or support for healthcare workers. In this guide, we will walk you through the essential steps and tips to successfully apply these transfers, ensuring your T-shirts stand out in any setting.
In the following sections, you will discover the different types of nurse transfers available, the materials you will need, and the step-by-step process to achieve a professional finish. Whether you are a seasoned crafter or a beginner, our detailed instructions will help you navigate through the application process with ease. Additionally, we will share some creative ideas on how to customize your designs, making your T-shirts not just clothing, but a statement of your dedication to the nursing profession.
So, if you’re ready to transform your plain T-shirts into eye-catching pieces that reflect your love for nursing, keep reading! With our expert tips and tricks, you’ll be able to create beautiful, personalized apparel that you can wear with pride. Let’s dive into the world of nurse transfers and unleash your creativity!
Applying nurse transfers to T-shirts is a creative way to showcase your appreciation for the nursing profession. This guide will explore various aspects of this process, from selecting the right materials to the application techniques.
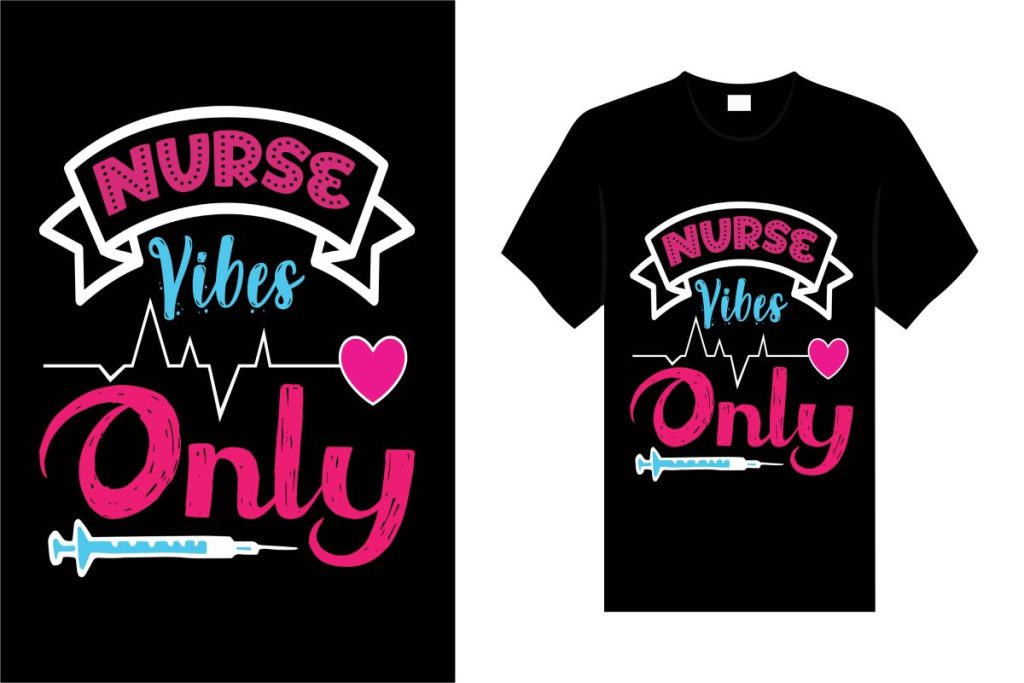
Choosing the Right Nurse Transfer Designs
When it comes to nurse transfers, the design is crucial. You can find a variety of designs online, ranging from humorous quotes to artistic representations of nursing symbols. Consider your audience and the message you want to convey. For instance, if you’re creating shirts for a nursing event, opt for designs that reflect teamwork and compassion.
Additionally, ensure that the designs are high-quality and suitable for transfer. Look for designs that are specifically made for fabric applications, as these will adhere better and last longer. Websites that specialize in custom transfers often provide a range of options, allowing you to choose the perfect design for your T-shirts.
Materials Needed for Application
To successfully apply nurse transfers to your T-shirts, you will need specific materials. First, gather your T-shirts, preferably made of cotton or a cotton blend, as these fabrics hold transfers well. Next, you will need the nurse transfer itself, which can be purchased or printed using transfer paper.
Other essential materials include a heat press or an iron, parchment paper, and a flat, heat-resistant surface. Having these materials ready will streamline the application process and ensure a professional finish. Always check the instructions provided with your transfer for any additional requirements.
Preparing Your T-shirt for Transfer
Before applying the transfer, it’s important to prepare your T-shirt properly. Start by washing and drying the shirt to remove any sizing or chemicals that may interfere with the transfer process. Iron the shirt to eliminate any wrinkles, as a smooth surface is essential for even application.
Next, lay the T-shirt flat on your heat-resistant surface. Use a ruler or measuring tape to position the transfer accurately. This step is crucial for achieving a professional look, as misalignment can detract from the overall appearance of the shirt.
Application Techniques for Nurse Transfers
There are two primary methods for applying nurse transfers: using a heat press or an iron. A heat press is recommended for its ability to provide consistent heat and pressure, resulting in a durable transfer. If using an iron, set it to the appropriate temperature as indicated on the transfer instructions.
Place the transfer on the T-shirt, cover it with parchment paper, and apply heat for the recommended time. Ensure that you apply even pressure across the transfer to avoid any lifting or peeling. After the application, allow the transfer to cool before peeling off the backing paper to reveal your design.
Care Instructions for T-shirts with Transfers
To maintain the quality of your T-shirts with nurse transfers, proper care is essential. Always wash the shirts inside out in cold water to prevent fading and cracking of the transfer. Avoid using bleach or harsh detergents, as these can damage the design.
When drying, opt for air drying or use a low heat setting in the dryer. Avoid ironing directly on the transfer; instead, use a cloth to protect the design if ironing is necessary. Following these care instructions will help prolong the life of your T-shirts and keep the designs looking fresh.
Creative Ideas for Customizing Nurse T-shirts
Customizing nurse T-shirts can be a fun and engaging project. Consider adding personal touches such as names, dates, or specific nursing specialties to the designs. This personalization can make the shirts more meaningful, especially for events like graduations or nursing week celebrations.
Additionally, you can experiment with different T-shirt colors and styles to create a unique look. Pairing nurse transfers with accessories like badges or pins can further enhance the overall aesthetic. Don’t hesitate to get creative and let your personality shine through your custom T-shirts!
| Step | Description |
|---|---|
| 1. Gather Materials | Collect all necessary materials including nurse transfer designs, T-shirts, an iron, parchment paper, and a hard surface for ironing. |
| 2. Prepare the T-Shirt | Wash and dry the T-shirt to remove any sizing. Iron the T-shirt to ensure a smooth surface for the transfer. |
| 3. Position the Transfer | Place the nurse transfer design face down on the desired area of the T-shirt. Ensure it is centered and straight. |
| 4. Heat the Iron | Set the iron to the appropriate temperature for the fabric of the T-shirt. Avoid using steam. |
| 5. Apply Heat | Place a piece of parchment paper over the transfer. Press the iron down firmly for the recommended time (usually 20-30 seconds). |
| 6. Cool and Peel | Allow the transfer to cool for a minute. Carefully peel off the backing paper to reveal the design. |
| 7. Final Touches | If necessary, re-iron the design with parchment paper to ensure it adheres well. Let the T-shirt sit for 24 hours before washing. |