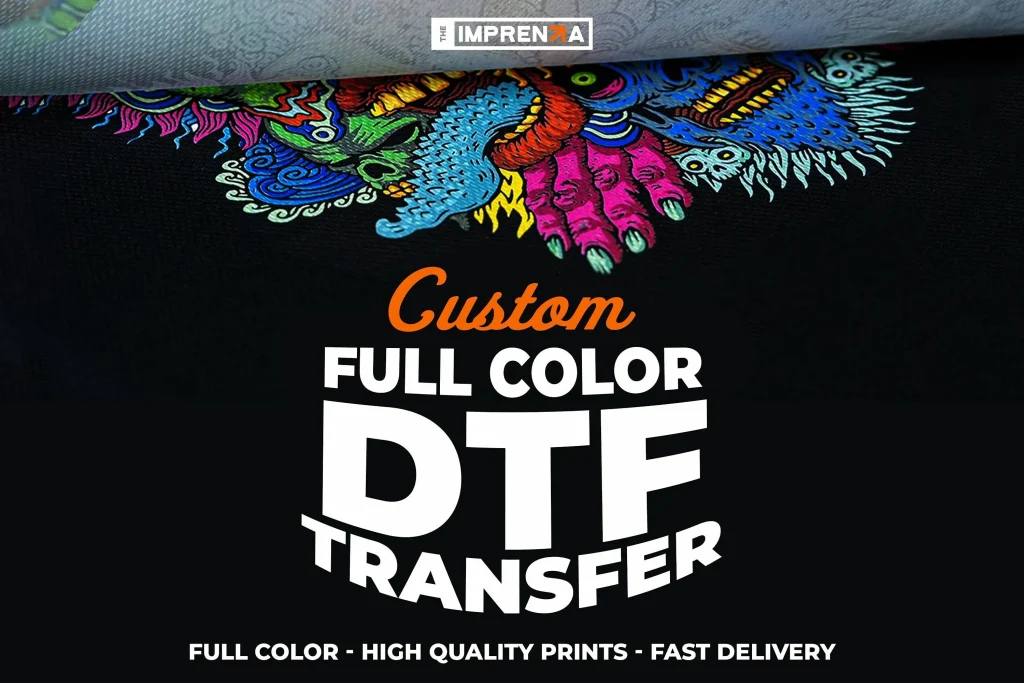
DTF transfers have transformed garment customization, offering crafters, small businesses, and studios a fast way to add vibrant, durable designs. As the Direct-to-Film method blends screen-print flexibility with consumer heat presses, it’s become a go-to for t-shirts, hoodies, bags, and more. If you’re wondering how to apply DTF transfers effectively, this guide covers a complete, step-by-step process—from pre-press prep to curing and finishing. You’ll learn practical tips on selecting materials, optimizing heat press settings for DTF, and troubleshooting common issues to ensure crisp images and strong adhesion. By following the recommended DTF transfer printing workflow, as outlined in this DTF printing guide, you can achieve consistent results across multiple garments and scalable production.
Beyond the shorthand DTF, the technique is a direct-to-film printing method that uses an adhesive-coated film to transfer vibrant images onto fabrics. Think of it as film-based garment decoration and adhesive transfer printing that can be heat-pressed onto cotton, blends, or dark textiles. In practice, creators explore terms like film-to-fabric transfer, powder-cured film, and heat-press workflows as part of a robust DTF printing guide. Key concepts include choosing the right transfer material, aligning the print, and tuning heat press settings for optimal adhesion and a soft hand feel. For troubleshooting and workflow optimization, consider DTF transfer curing tips and process controls that help you scale production efficiently.
DTF transfers Explained: What It Is and Why It Works
DTF transfers provide a versatile method for decorating fabrics by printing a design onto a special film, applying an adhesive powder, and then curing before pressing the image onto the garment. This process, often called DTF transfer printing, delivers bright colors, a smooth texture, and broad fabric compatibility, including cotton, blends, and dark fabrics.
Because the design is fixed to a film rather than pigment on fabric, DTF transfers offer efficient production for both small runs and scalable workflows. They pair well with a simple heat-press setup and can be a practical entry point for hobbyists and small businesses seeking professional results. For those learning how to apply DTF transfers, this guide aims to build confidence and consistency from the first print.
Pre-Press Prep for Flawless DTF Transfers
Start with clean, lint-free fabric and a flat, stable pressing surface. Remove wrinkles, secure center marks, and protect the garment with a heat-resistant sheet to minimize shifting during the pre-press stage.
A thorough pre-press helps drive moisture out of the fabric and seals out any residual fibers that could affect adhesion. This step aligns with practical guidance from a DTF printing guide, offering tips on material selection, surface preparation, and accurate transfer placement to reduce misprints.
Step-By-Step: How to Apply DTF Transfers
To apply a transfer, pre-press the garment to remove moisture, position the transfer with the carrier film facing up, and align it precisely with the garment’s center. Press at the recommended temperature and time, then apply steady, even pressure to bond the adhesive.
Know how to apply DTF transfers by following a repeatable sequence that minimizes shifting and ghosting. After pressing, allow a brief cooldown if required, then carefully peel away the liner to reveal the design bonded to the fabric, and finish with any post-press steps from the transfer instructions.
Optimizing Heat Press Settings for DTF
Choosing the right heat, pressure, and timing is critical for durable results. Typical ranges run around 320-356°F (160-180°C) for 12-20 seconds, with medium to firm pressure. Adjust variables based on fabric weight, ink formulation, and whether you’re printing on light or dark garments.
Document your test results and refine your settings on similar fabric swatches to enable repeatable production. This approach aligns with a DTF printing guide that emphasizes methodical tuning and reliable results across batches.
DTF Transfer Curing Tips and Finishing Techniques
After pressing, allow the transfer to cure by finishing the bond with a brief cooldown and, if needed, a second pass with even pressure. Following DTF transfer curing tips helps maximize adhesion and minimize edge lift or cracking on sensitive fabrics.
Finish with proper care instructions: wash inside-out, avoid high-heat drying, and store garments flat to preserve color and texture. These finishing practices complement the curing process and help your prints withstand regular washing.
Troubleshooting Common DTF Transfer Challenges
Common issues include misalignment, edge peeling, or incomplete adhesion on heavier fabrics. Verify you are centered, that the transfer is fully pressed, and that the fabric’s surface is clean and dry. Consulting a DTF printing guide can help you diagnose root causes quickly.
If adhesion is weak, adjust the temperature, press time, or pressure and test on a scrap fabric before printing a full run. Keeping a log of settings for different garment types helps you reproduce reliable results and reduces waste.
Frequently Asked Questions
What is DTF transfer printing and how does it work?
DTF transfer printing is a process where a design is printed onto a special film, coated with adhesive powder, cured, and then transferred to fabric with a heat press. This method delivers vibrant color, a soft hand feel, and broad fabric compatibility, including cotton, blends, and dark garments.
How to apply DTF transfers to apparel using a heat press?
To apply DTF transfers, align the transfer on the fabric on a flat surface, then pre-press the garment for 5–10 seconds to remove moisture. Place a silicone sheet or parchment over the design, set the heat press to the recommended temperature and time, apply consistent pressure, and peel the film either cold or warm according to the transfer guidelines.
What is a DTF printing guide for beginners?
A DTF printing guide covers the full workflow: design, print on film, apply adhesive powder, cure the film, and transfer with correct heat and pressure. Following the guide helps with pre-press preparation, precise alignment, curing, and finishing for durable, high-quality results.
What heat press settings for DTF transfers yield best results?
Typical heat press settings for DTF transfers vary by film and fabric, but common ranges are around 150–160 C (300–320 F) for 12–18 seconds with medium to firm pressure. Always adjust for garment thickness, fabric type, and whether you’re pressing light or dark substrates, and perform a test print on a scrap first.
What are DTF transfer curing tips to ensure durability?
DTF transfer curing tips include fully curing the adhesive powder on the film per the manufacturer’s guidelines, ensuring even heat distribution, and allowing the film to cool before handling. Avoid over-curing or under-curing, and store cured films in a cool, dry place to maintain quality.
Which fabrics are best for DTF transfer printing and how should I prep them?
DTF transfer printing works well on cotton, cotton blends, and many synthetic fabrics. Prep by using a clean, dry, lint-free surface and perform a pre-press to remove moisture. Proper prep helps ensure clean adhesion and vibrant results across different fabrics.
| Key Point | Details |
|---|---|
| What are DTF transfers? | Direct-to-Film transfers involve printing designs onto a special film, coating with adhesive powder, curing, and transferring to fabric with a heat press. They offer vibrant color and broad fabric compatibility. |
| Benefits | Vibrant colors, soft hand feel, durability, and compatibility with cotton, blends, and dark garments. |
| Applications | Ideal for T-shirts, hoodies, bags, and other apparel; suited for crafters, small businesses, and print shops. |
| Process overview | Pre-press preparation, precise alignment of the transfer, heat application with correct timing and pressure, curing, and finishing for durability. |
| What you’ll learn | Material selection, heat press settings, troubleshooting, safe equipment handling, and quality control. |
| Outcomes | Crisp images, strong adhesion, and consistent results across multiple garments. |
| Common challenges | Common issues and how to avoid them, including misalignment, poor adhesion, and waste reduction strategies. |
| Why choose DTF | Versatile solution with color vibrancy, soft hand feel, and broad fabric compatibility, including dark garments. |
Summary
DTF transfers open a versatile path to high-impact garment decoration. This descriptive overview highlights the core steps from pre-press to finishing, emphasizing consistency, quality control, and safety. Direct-to-Film technology offers vibrant color, soft hand feel, and compatibility with a wide range of fabrics, making it suitable for hobbyists, small businesses, and print shops alike. By mastering material selection, heat press settings, and troubleshooting, you can minimize waste and scale production while delivering durable, professional results. A repeatable workflow and careful handling of equipment ensure reliable outcomes across batches, helping you grow your DTF transfers business with confidence.