Creating DTF transfers is an innovative way to bring your fabric design ideas to life, enabling you to personalize clothing with stunning prints right from the comfort of your home. This method, known as Direct to Film (DTF) printing, offers a unique blend of vibrancy and durability, appealing to both DIY hobbyists and serious fabric artists alike. In this guide, we will outline the DTF transfer process, providing you with step-by-step instructions on how to DTF transfers that truly stand out. By understanding the essential materials, techniques, and tips, you’ll be well on your way to mastering this exciting form of heat transfer printing. Whether for personal use or small business ventures, knowing how to create these transfers will elevate your fabric printing game to new heights.
In the world of fabric customization, mastering the art of direct-to-film (DTF) transfers opens up a plethora of creative possibilities. This technique is part of the broader field of DIY fabric printing, where enthusiasts can explore various printing methods to achieve professional results. The DTF transfer process involves unique steps that guarantee high-quality designs capable of withstanding the test of time. As we delve deeper into this topic, you’ll discover effective strategies and essential materials that make for successful heat transfer printing. Embrace this comprehensive guide to explore the nuances of creating stunning fabric designs that resonate with your personal style or brand identity.
The Benefits of DTF Printing for Home Crafters
DTF printing offers numerous advantages that make it an appealing choice for home crafters. One of the standout benefits is its versatility, allowing for high-quality prints on a wide range of fabric types, including cotton, polyester, and various blends. This characteristic means that users can experiment with different materials without sacrificing print quality. Moreover, the vibrant colors produced by DTF transfers ensure that designs stand out, making them perfect for custom clothing, home decor, and promotional items.
Another significant advantage of DTF is its cost-effectiveness. Compared to other methods like screen printing or direct to garment (DTG) printing, DTF requires less expensive equipment and materials, making it accessible even to those who are just starting out. Additionally, the process is relatively straightforward, which means that with a bit of practice, anyone can achieve professional-looking results from the comfort of their home. This makes DTF printing not only a fun project but also a feasible business opportunity for those looking to monetize their creativity.
Gathering Essential Materials for DTF Transfers
Before diving into the DTF transfer process, it’s crucial to gather all necessary materials to ensure a smooth experience. The first essential item is an inkjet printer specifically designed to work with DTF inks, as conventional inks may not yield optimal results. You’ll also need DTF transfer film, which is a particular type of film that supports the print quality and adhesion required for successful transfers. Don’t forget the adhesive powder, as this is what allows the design to bond effectively with the fabric.
In addition to the printing essentials, a heat press machine is vital for applying the right amount of heat and pressure to make the transfer successfully adhere to your fabric. While some might consider using an iron, a heat press is generally more consistent and yields better results. Finally, having design software at your disposal, whether you’re creating your designs from scratch or customizing existing graphics, can enhance your printing projects. This preparation will significantly impact the final quality of your DTF transfers.
Creating DTF Transfers: The Step-by-Step Process
The DTF transfer process can be broken down into manageable steps, making it easy for anyone to follow. First, prepare your inkjet printer with the correct DTF inks, and make sure to set the printer settings to a high resolution for crisp and clear prints. Choose a design that speaks to you, whether it’s a personal creation or a well-loved graphic. By understanding how to adjust your printer settings, you can optimize for the best results in your DTF transfers.
Once your design is ready, load the DTF transfer film into the printer and print on the designated side. Following this, it’s important to apply the adhesive powder immediately while the ink is still wet; this ensures that every part of your design is adequately covered for a successful transfer. Finally, using a heat press to transfer the design onto your fabric not only provides a professional finish but also ensures that the ink binds properly with the material. By mastering each step, you’ll be able to create stunning DTF transfers that enhance any fabric item.
Tips and Best Practices for Outstanding DTF Transfers
When venturing into the DTF transfer world, applying certain tips and best practices can elevate your results significantly. Start by familiarizing yourself with your printer’s specific requirements for DTF inks; this might include adjusting color profiles or print resolutions. Testing your settings on scrap fabric before committing to larger projects can help you discover the ideal configurations, ensuring that each transfer adheres perfectly without any unwanted surprises.
Next, consider the types of fabrics you choose for your DTF transfers carefully. While it’s possible to print on a variety of materials, some fabrics like cotton and polyester tend to yield the best results. Additionally, proper storage of your transfer film and adhesive powder is essential for maintaining their quality—keeping them in cool, dry conditions can extend their lifespan and usability. Following these tips will help you produce durable and high-quality prints that are sure to impress.
Common Mistakes to Avoid During DTF Transfers
Like any craft, creating DTF transfers can come with its own set of challenges. One of the most common mistakes is improperly setting printer configurations, which can lead to unsatisfactory print quality. Ensure that the printer is calibrated correctly for the type of DTF ink being used; this includes settings like color profiles and ink density. Failing to adjust these settings can result in dull or miscolored images that detract from the overall quality of your fabric prints.
Another frequent issue stems from the heat press technique. If the temperature is set too high or too low, or if incorrect pressure is applied, the transfer may not adhere properly, leading to peeling or fading of the design after washing. Additionally, not allowing the film to cool before peeling can compromise the integrity of the transfer. By being mindful of these potential mistakes, you can enhance your outcomes and enjoy a better crafting experience.
Exploring Creative Applications of DTF Transfers
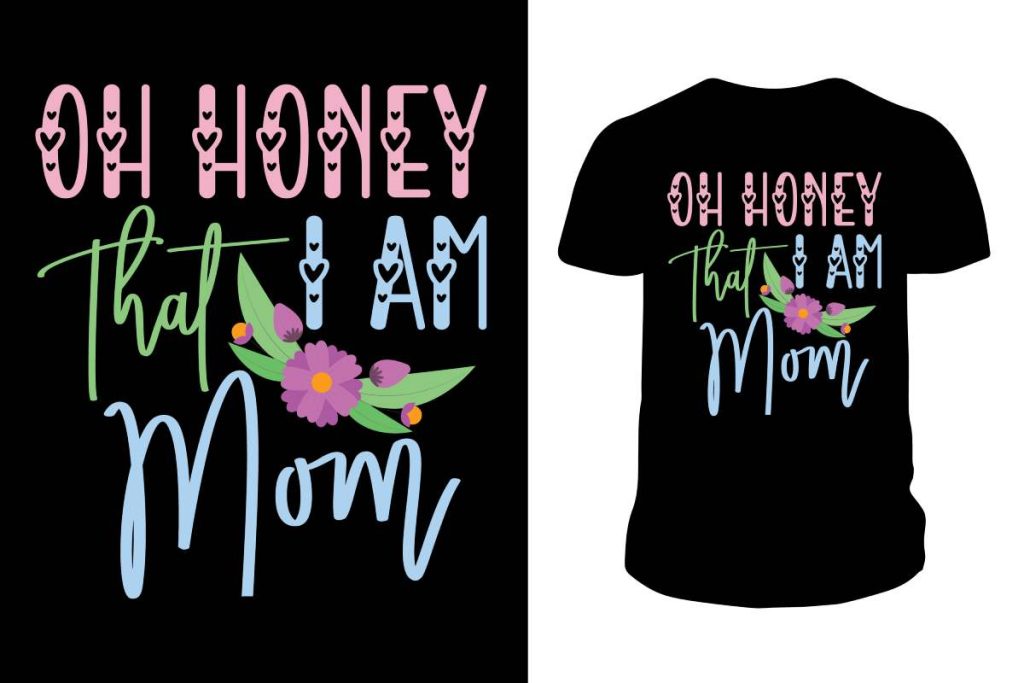
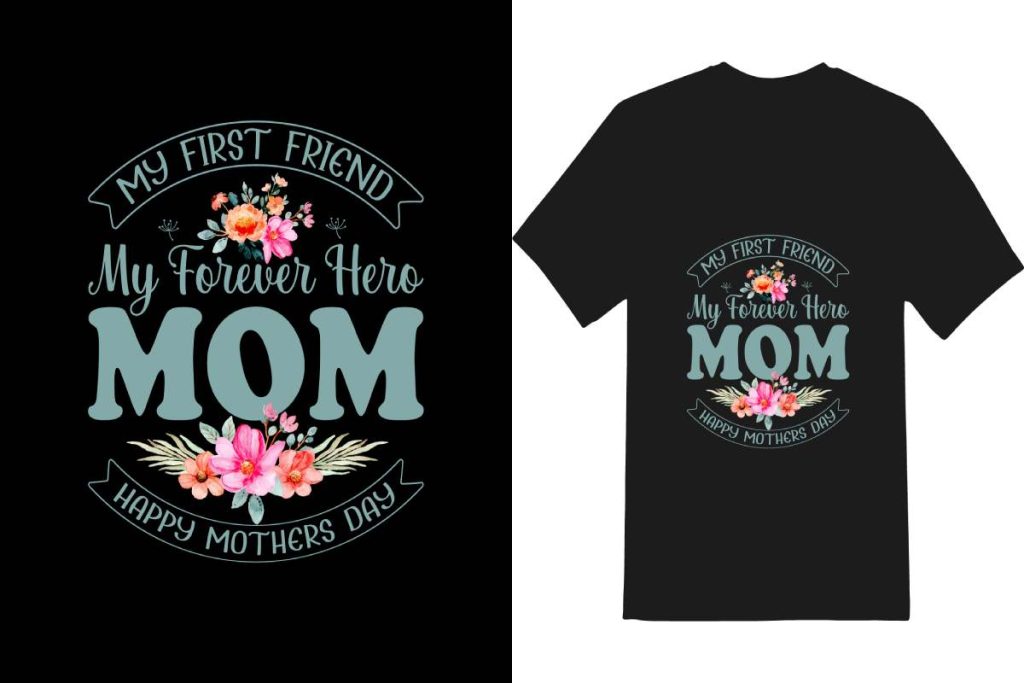
DTF transfers open up a world of possibilities for creative applications that can be both fun and functional. From personalizing everyday clothing items like t-shirts and hoodies to making custom garments for special events, the potential for self-expression is vast. Craft enthusiasts can also use DTF transfers to create unique home decor items such as decorative pillows, wall art, and table runners, adding a personal touch to their living spaces.
For small businesses, DTF transfers can provide an affordable way to create merchandise or promotional items. This includes custom branded apparel for events or giveaways, which can significantly enhance brand visibility. Similarly, DTF printing can be used to create one-of-a-kind gifts for friends and family, capturing personalized messages, dates, or images that cater to the recipient’s tastes. The versatility of DTF transfers makes them a valuable tool for any creative endeavor.
Frequently Asked Questions
What is the DTF transfer process and how does it work?
The DTF transfer process involves printing your design onto a specialized film using DTF ink, applying adhesive powder to the wet ink, and then using a heat press to transfer the design onto fabric. This method allows for vibrant colors and works with a variety of fabric types, making it a versatile choice for DIY fabric printing.
How do I prepare for creating DTF transfers at home?
To prepare for creating DTF transfers, you need to gather essential materials such as an inkjet printer with DTF ink, DTF transfer film, adhesive powder, a heat press machine, and suitable fabric. Ensure your printer settings are optimized for DTF printing and choose your design carefully.
Can I use any printer for DTF printing?
No, you need an inkjet printer that is compatible with DTF ink for creating DTF transfers. Make sure to check your printer model and adjust settings according to the requirements for DTF printing to achieve the best results.
What types of fabric are best for DTF transfer prints?
DTF transfers work exceptionally well on cotton, polyester, and their blends. Choosing the right fabric can significantly enhance the quality of your prints, ensuring they last longer and maintain vibrancy.
What are the key steps in the DTF transfer process?
The key steps in the DTF transfer process include preparing your printer and design, printing on transfer film, applying adhesive powder over the wet ink, using a heat press to transfer the design onto fabric, and finally, peeling the film off to reveal your print.
What tips can improve the quality of my DTF transfers?
To improve your DTF transfers, experiment with printer settings to find optimal conditions, conduct test prints on scrap fabric, handle the adhesive powder carefully, and ensure your heat press is set to the correct temperature. Additionally, store unused materials properly to preserve their quality.
| Step | Description |
|---|---|
| 1. Preparation | Ensure printer is equipped with DTF inks, choose design, and set optimal printer settings. |
| 2. Printing on Transfer Film | Load DTF film into the printer and print the design on the rough side. |
| 3. Apply Adhesive Powder | Sprinkle adhesive powder evenly on the wet ink, then shake off excess powder. |
| 4. Heat Pressing | Preheat the press, place the printed film on fabric, and apply pressure for 10-15 seconds. |
| 5. Peeling | Gently peel the film away while warm, ensuring a successful transfer. |
Summary
Creating DTF transfers offers a creative way to personalize your clothing and fabric items effortlessly. This method not only enhances the vibrancy and durability of designs but also caters to a wide range of fabric types, making it ideal for both personal and small-scale projects. By following the outlined materials and step-by-step process, you can easily achieve professional-quality prints at home. Mastering this printing technique opens up a world of possibilities for expressing your unique style and allowing your creativity to shine through your apparel.